Step 1 (Safety and Ventilation)
The day our friendly team arrives at your home, they will take a few minutes and look over the work area for any potential safety hazards and the closest outside access in order to set up proper ventilation. We use top of the line industrial products, which do have an odor, but our ventilation system helps to eliminate those odors.
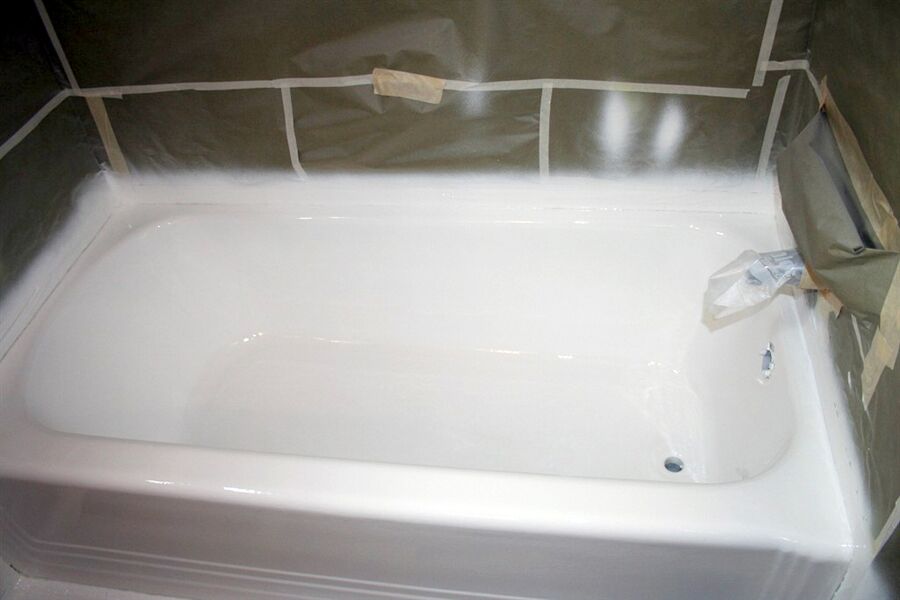
Step 2 (Preparation and Repairs)
We will address any repairs needed in order to complete the job. MOST repairs are completed the same day, but please note that some repairs can take 1-3 days to finish. Once our team has assessed the job and notified you of any needed repairs, they will begin to prep the area(s) being resurfaced. Everything around the area being resurfaced will be covered and masked off. We will then sand or etch the surface and then clean it thoroughly to ensure it is ready to be coated.
Step 3 (Applying The Coating)
After all surfaces have been prepared and any necessary repairs completed, we apply the coating with a high volume/low pressure sprayer and finish with a protective clear coat.
Step 4 (Clean-Up)
Upon job completion, the team will remove all masking and trash from the property. They will post an orange “Do Not Use” sign near the area that was resurfaced that will let you know when the surface can be used again, and what cleaning products to use on your newly resurfaced item.